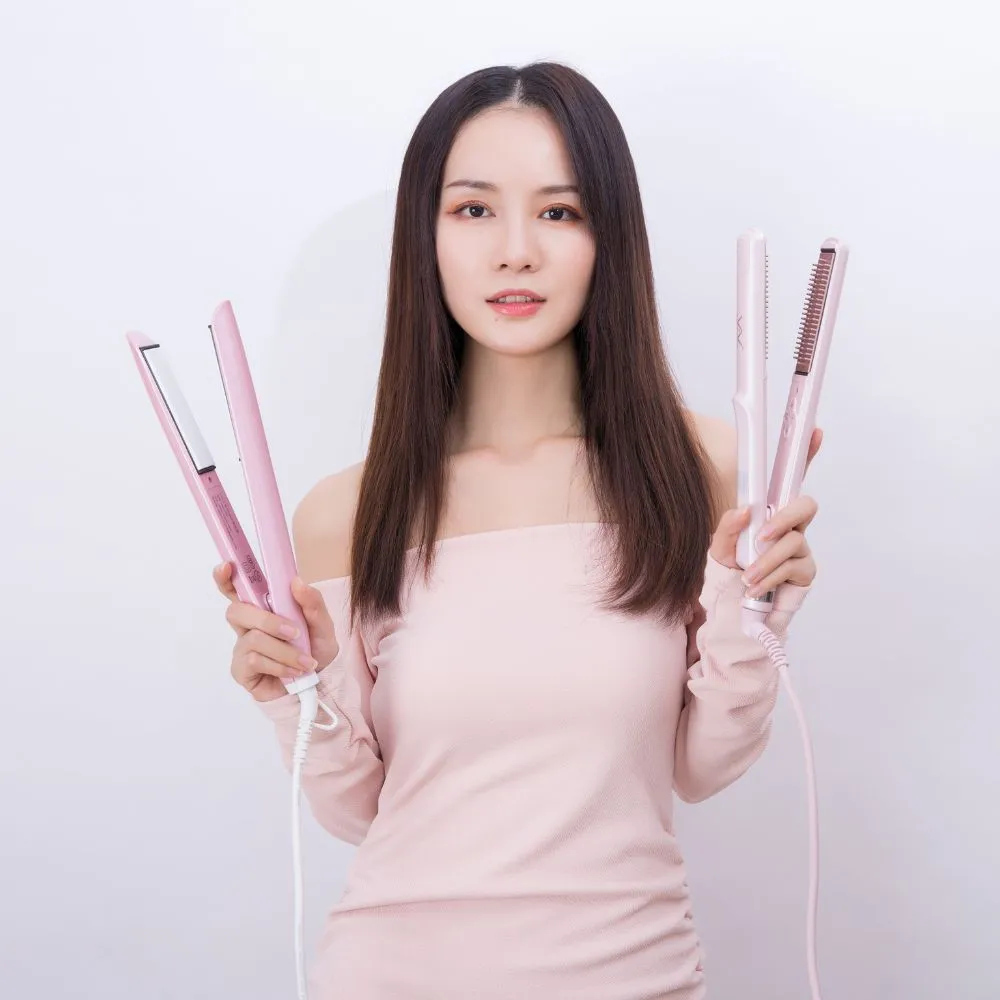
In a world where hairstyling tools are constantly evolving, the versatility of the flat iron is a game-changer. Did you know that your flat iron can do more than just straighten your hair? With the right technique, you can use it to create beautiful curls, waves, and even volume. This article will guide you through the step-by-step process of using a flat iron to curl your hair, from choosing the right tool to adding those finishing touches for a flawless look.
Before diving into the curling process, it’s crucial to understand the importance of selecting the correct flat iron for your hair type. Additionally, preparing your hair with heat protectant and proper sectioning are essential steps in achieving stunning curls that last. Whether you desire tight curls, loose waves, or a beachy texture, the curling techniques for different styles will be explored in detail.
Ready to elevate your hairstyling game? Let’s explore how to unleash the full potential of your flat iron and achieve the curls you’ve always dreamed of.
Choosing the right flat iron for your hair type
When selecting a flat iron to create beautiful curls, consider the width and edges of the tool. Ideal for producing smooth, bouncy curls, a slim flat iron—1 to 2 inches wide—with rounded edges is preferred. Ahead lies a decision that could leave your hair healthy or harmed: investing in a high-quality flat iron. Superior irons achieve sleek results more quickly and minimize damage, meriting the expense.
Before heating up your flat iron, acknowledge your hair’s needs. Fine, thin locks require gentler treatment; therefore, set the temperature below 300 degrees to protect the hair shaft. Coarser hair types can endure higher heat but always use the lowest effective temperature.
Remember, hair care doesn’t pause for styling. Nourish your locks with a hair serum that delivers not only hydration and nutrition but safeguards against the rigors of styling.
Most crucially, never overlook a heat protectant spray like Watch Me Werk. This essential layer of defense shields your hair, especially crucial within the 250°-400° temperature range, from the intense heat of a flat iron. This simple act of care can be the difference between damaged hair and lustrous, pronounced curls.
Hair Type | Temp. Range Fine/Thin | Below 300°F Coarse | 300°F – 400°F
- Use a slim, rounded flat iron for curls
- Invest in a quality iron to reduce damage
- Adjust temperature according to hair type
- Apply hair serum for protection and hydration
- Always use a heat protectant spray.
By adhering to these guidelines, you’ll be set to create anything from tight curls to loose waves while keeping your hair in top condition.
Preparing your hair
Begin your hairstyling routine with freshly cleaned hair to create an optimal foundation for heat styling. Residual products or natural oils accumulated from prior days can not only interfere with your flat iron’s performance but also elevate the risk of heat damage. This is the stage where you lay the groundwork for those beachy waves or pronounced curls of your dreams.
To ensure a smoother and straighter base, which is vital for even the most gorgeous flat iron curls, consider blow drying your hair beforehand. This not only simplifies the curling process but also helps in achieving that salon-quality finish. Remember that a clean and dry canvas is essential for styling tools to work their magic effectively and safely.
Applying heat protectant
The use of a high-quality heat protectant spray is a non-negotiable step in shielding your strands before they meet the heat of your hair straightener. Opt for a heat protectant that offers robust defense against temperatures as high as 450 degrees—common peak temps for many styling tools—to fortify your hair against potential damage.
Apply your chosen thermal spray or serum to clean, and dry hair before using your flat iron. A light misting is sufficient—you’re aiming for coverage, not saturation. Comb the product from root to tip to ensure an even layer that encapsulates each hair shaft. This barrier not only safeguards against heat but also combats frizz, leaving hair silky and manageable.
For those with thicker locks, try spritzing each section of hair with a heat protectant before you apply the flat iron. This ensures every layer and every strand is enveloped in protective goodness, keeping your hair healthy and resilient through the styling process.
Sectioning your hair
Effective sectioning is key to creating beautiful curls with a flat iron, particularly for those sporting thick or long tresses. Start by dividing your hair at the bottom of your scalp, near the ears and neck, and work upwards. Smaller sections are manageable and allow for more precise styling—aim for one-inch sections for tighter curls and larger sections for looser curls.
Utilize hair ties or clips to keep unstyled hair out of your way. This tactic allows you to concentrate on one section at a time, minimizing distractions and making the styling process significantly quicker. In addition to organization, sectioning promotes an even distribution of heat, ensuring that every part of your hair receives equal attention, which is crucial for achieving those stunning, evenly crafted curls or soft waves.
Curling your hair with a flat iron
Achieving beautiful curls using a flat iron, traditionally a hair straightener, is a savvy styling trick that’s gained popularity due to its versatility. With the right technique, you can create a range of curls—from loose waves to tight spirals. Before starting, it’s important to practice the movements with the flat iron turned off to get familiar with the handling and avoid any potential mishaps, like burning the hair or creating unwanted creases. Keep in mind that direction matters; always curl hair away from the face for a more flattering look. Consistent use of a heat protectant is critical, as it creates a protective barrier helping to prevent damage since flat irons can reach temperatures between 250° and 400°. Additionally, applying a hair serum provides necessary nutrition and hydration, ensuring your locks are as healthy as they are stylish.
Curling technique for tight curls
To achieve tight curls with a flat iron, the technique begins by starting to curl close to the root. Clamp a small section of hair and rotate the iron a full 360 degrees, then slowly slide the flat iron horizontally away from your head, making sure to keep the tension consistent until you reach the end of the hair. The more horizontal the motion, the tighter the curl will be. For added dimension, alternate the direction of each curl—some towards the face and some away. This varying of curl direction adds volume and texture, especially around the face where a slightly slower pass through the section can create a more defined curl. It’s important to let each section cool before re-curling to prevent overly tight curls. For curls that last, a light mist of hairspray after styling can help maintain the sleek look.
Curling technique for loose curls
Loose curls are achievable with a flat iron by adopting a more relaxed approach. Hold the iron horizontally and move it quickly down the hair strand. When creating the curl, twist the iron upwards toward the top of the head, ensuring the curl turns away from your face. After the hair passes through the iron, use your fingers to twirl the hair in the direction of the curl to set it in place. If you prefer a looser effect, curl larger sections of hair. Conversely, tighter curls result from smaller sections. To help these curls maintain their shape, consider a light application of hairspray for a robust hold throughout the day.
Curling technique for beach waves
Creating beachy waves with a flat iron gives a laid-back, carefree look, perfect for any season. Utilize the half-turn technique, engaging one-inch pieces of hair from the bottom section upwards. The twist of the wrist is less pronounced than with full curls, just enough to give that undulating wave effect. After curling, you can choose the final texture of your beach waves. A mixed bristle brush will offer a fluffier look, while a wide-tooth comb pulls out the ringlets for a relaxed vibe. Once you have your waves as desired, a combination of hairspray and dry volume spray can provide the finishing touch, adding both texture and hold. Remember to practice the curling move with the flat iron off to master the motion without the risk of burns.
Finishing touches
Adding final touches to your hair after using a flat iron to curl it is key to ensuring your new look retains its shape and luster throughout the day. Applying products like finishing spray and light-hold hairspray can enhance the durability of your style, reduce frizz, and add a sleek shine. Once your curls have completely cooled, a gentle shake-out of your hair can elevate the curls into bouncy, more defined forms. To further bolster the life of your full curls, target the roots with a volumizing spray and finish with a flexible hairspray all over, giving you lasting volume and pristine waves. A touch of hair serum after crafting smooth flat iron waves can impart a refined sheen, highlighting the polish of your finished hairstyle.
Applying a finishing spray
To seal in your hard work and add a gloss to your curled locks, a finishing spray is a perfect tool. It helps to keep your chosen style intact, spotlighting the hair’s texture while curbing any potential unruliness throughout the day. As a rule of thumb, a light mist of finishing spray should be applied last, after styling is complete. Aim for a light dusting to maintain a natural look without stiffening your locks. Whether you’ve opted for lively bouncy curls or straight sleek hair, a finishing spray can serve as the cherry on top of a well-crafted hairdo.
Using a wide-tooth comb to separate curls
For a more natural and effortlessly cool, employing a wide-tooth comb to gently separate your flat iron curls can make all the difference. This technique not only adds volume and texture but also merges the curls into a cohesive, tousled style. A wide-tooth comb is particularly useful as it is less likely to disrupt the integrity of your curls or lead to hair breakage. Here’s a short guide:
- Wait for the curls to cool after ironing.
- Gently insert a wide-tooth comb at the ends of your hair.
- Lightly comb towards the roots, stopping before creating too much frizz.
- Allow the curls to sit loosely for a relaxed, beachy appearance.
Implementing this method after sculpting your hair with a flat iron affords you greater customization and control over the final result, thus ensuring that your curls look as intentional and stylish as possible.

